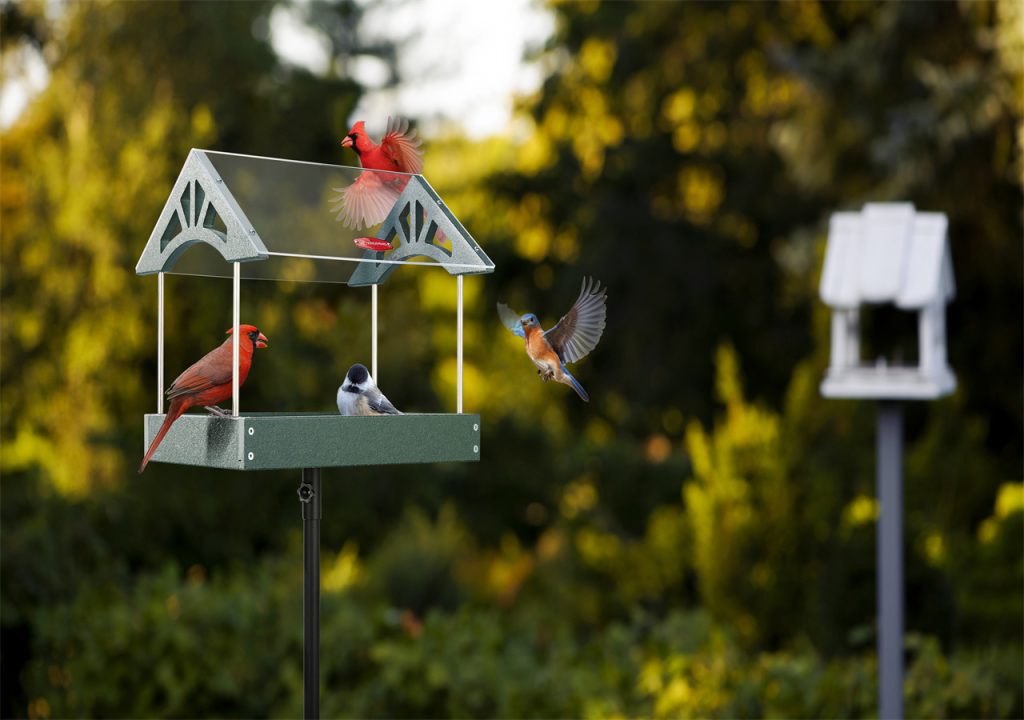
Bird Feeders are charming additions to our gardens, turning them into beautiful avian hubs. These simple structures welcome the visiting birds and transform our outdoor space into a delightful heaven. But as time goes by, these bird feeders become dirty due to birds’ droppings, feathers, and food crumbs. Decomposing food and other contaminants can cause many bird diseases. From window bird feeders, hummingbird feeders, tube bird feeders and more, every bird feeder should be cleaned regularly to avoid bacterial growth.
This article will discover when, why, and how to clean bird feeders and essential tips for ensuring feeder hygiene and birds’ health.

Why to Clean the Bird Feeders?
The main purpose of cleaning the bird feeder is to avoid spreading various bird diseases. Bird droppings, dirt, and wet seeds can make the birds sick, which could lead to fatality. Unclean and dirty feeders attract mold and bacteria, which can cause the spread of bird diseases. Feeders like hummingbird and tube bird feeders are prone to mold and bacteria if not cleaned properly and regularly.
When to Clean the Bird Feeders?
Bird feeders should be cleaned consistently to avoid mold and bacteria growth. Hummingbird feeders should be cleaned every 3-4 days, while window and tube bird feeders should be cleaned every other week. Regardless of their type, bird feeders should be cleaned after every other week. More frequent cleaning should be adopted if the weather is more humid and hot due to the rapid growth of bacteria in these seasons.
Essential Item Required for Cleaning Bird Feeders
The following tools/items are required for cleaning the bird feeders:
Brush (tube or pipe brush)
Sponge/Cloth
Mild soap or bleach
Warm water
Household gloves
Tub or bucket
Steps for Cleaning
Cleaning a bird feeder is not just a job of cleaning, but it shows your expression of love and care for nature. The following steps are involved to clean your bird feeders so that colorful birds keep visiting to grace your garden.

Step 1
Removing the leftover food
Detach the bird feeder from your garden or balcony. Completely remove the leftover seed or nectar from the feeders. Don’t forget to wear gloves to protect your hands from dirt and debris.
Step 2
Dry cleaning and disassembling
Clean the loose dirt and any buildup from the inside and outside the feeder using a soft brush. Special care is required for cleaning the hummingbird feeder due to these birds’ delicate nature and susceptibility to bacteria. Carefully disassemble the feeder and remember the steps to make reassembly easy.
Step 3
Preparation of cleaning mixture
Take warm water and mix mild soap or bleach (one into nine ratios of bleach and water, respectively). Warm water will help to remove the dry dirt easily. Put all the parts of the feeder into the solution and soak them for a while.
Step 4
Brushing and washing
Wash each part of the feeder using a sponge by taking them out of the water so that any remaining residue, if left, can be removed from the feeder. Tube bird feeder cannot be washed easily by sponge because spots cannot be reached inside. Therefore, a tube brush may be used for cleaning the tube bird feeder for more precise cleaning. Feeding ports are most vulnerable to accumulating mold and debris. Special attention may be given while washing feeding pots to avoid spreading bird disease.
Step 5
Scrub (if required)
Mostly, scrubbing the feeder would not be required due to warm and soapy water. However, if you observe any traces of old food stuck with the feeder, use the brush to remove it.
Step 6
Thoroughly rinse
Remove all the parts from the soapy bucket and rinse thoroughly with warm water to clean the soap and any remaining debris. Additional cleanliness measures can be adopted using vinegar rinse (one part white vinegar solution and four parts water). The hummingbird feeder is suggested to be rinsed with vinegar solution due to the sensitive nature of these birds.
Step 7
Let the feeder dry
Allow all the feeder parts to air dry before assembling and refilling the fresh feed. Ensure no moisture is left behind because even a tiny amount can lead to bacterial growth.
Step 8
Reassemble the feeder
After air drying the feeder, carefully assemble all the parts according to their order
Step 9
Refill and hang the feeder
Refill the feeder with fresh nectar and hang it in its place. The hummingbird feeder must refill fresh nectar every other day due to these birds’ delicate nature and susceptibility to mold and bacteria.
Dos and Don’ts of Bird Feeders
Use easy-to-clean feeders
Purchase easy-to-clean feeders, which can give easy access to each part of the feeders to clean it properly.
Use of gloves
Use working gloves while cleaning bird feeders, and wash your hands afterward.
Disposal of leftover seed and nectar
After cleaning the feeder, don’t spread the removed seed and debris on the ground of your backyard. It will invite the insects to your home. The removed seed and nectar should be disposed of properly.
Don’t reuse sponges at your home
The sponge used in cleaning bird feeders should not be reused to clean any other household or kitchen item.
Use of mild cleaning material
Use non-toxic cleaning materials like soap and vinegar, especially for cleaning hummingbird feeders, because these birds are very sensitive to toxins.
Prevent direct sunlight
Hang your bird feeders in a place where they receive partial sunlight and avoid direct, intense sunlight. This will slow down the growth of bacteria.
Replacing Bird Feeders
After a certain period of time, replace your bird feeder with a new one. This could be a good practice to avoid mold and bacteria growth.

Tips when Cleaning Different Bird Feeders
Tube Bird Feeders
These can have narrow, deep parts that can be difficult to reach. Use a tube brush to clean the interior thoroughly. Some feeders have removable feeding ports. Regularly rotate them to ensure even usage and cleaning.
Platform Bird Feeder
Choose a platform feeder with a removable tray. It makes cleaning much easier. Scatter only the amount of seed that birds can consume in a day. It will reduce waste and cleaning.
Water feeders
For water feeders, change the water daily to prevent the growth of harmful bacteria. Avoid using soap while cleaning water feeders, as it can harm birds if not rinsed thoroughly.
Window Bird Feeders
These are usually placed in proximity; check them daily and clean the spoiled food and droppings promptly. As you clean window bird feeders, ensure the cleanliness of the window as well.
Hummingbird Feeders
If possible, clean a hummingbird feeder when refilling. It helps ensure freshness for the nectar. Occasionally, consider boiling water to clean the feeder parts for extra sterilization.
Closing Remarks
As you continue on your journey to becoming bird feeder cleaning experts, don’t forget the joy and fulfillment that come from this simple act of tending to nature. Whether it’s wiping away debris, disinfecting feeding stations, or simply relishing the harmonious dances of tweeting birds, every effort you make contributes to a cleaner and more welcoming haven for our avian friends.
So, keep those cleaning gloves handy, stay curious, and let your passion for a pristine feeding environment guide your way. Together, we can ensure that our bird feeders remain a haven of nourishment, beauty, and delight for all who visit. Happy cleaning, and may your bird-watching adventures be filled with endless wonder.